The Harbor Freight 4×6 Metal Bandsaw has consistently been one of the better reviewed products over the years. This bandsaw model is very similar to units sold by a number of other companies including Grizzly, Jet, Enco, Wen and others. Some of the other companies may have more options and better instructions, but for the most part, the machines are quite similar.
The Stock Blade
The bandsaw comes with a blade that has been much maligned in forums and reviews. While the blade is certainly not as high end as a Starrett or even a Bosch, it is useful until the point that it is not.
Initial cuts
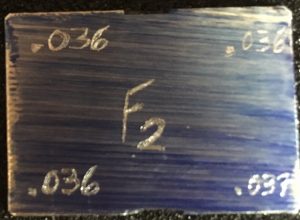
I used the stock blade while testing the bandsaw after putting it together. I was able to cut repeated flakes of 6061 aluminum at only .036″ of an inch.
Measurement of each corner of the flake showed repeatability within .001″. While the original blade may not last long, it is a fine place to start.
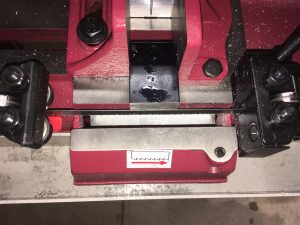
Here is a photo of a .036″ flake using the stock blade.
Repeatability is not Alignment
Repeatability of a cut does not imply alignment however. You can test for repeatability by measuring the cutoffs. To check for alignment, you must measure the stock, not the cutoff.
This is because subsequent cutoffs will be cut relative to one another, meaning that if the prior cutoff was not square, both the front and back of the next cutoff will not be square, but will be off by the same amount on both the front and back cuts. This results in the cutoffs having the similar dimensions, although they may not be square.
The stock blade is a variable tooth design known as a 10-14 TPI which means that it has alternating teeth per inch counts. This allows for faster cutting and better chip clearing from the blade.
Aligning with the Blade
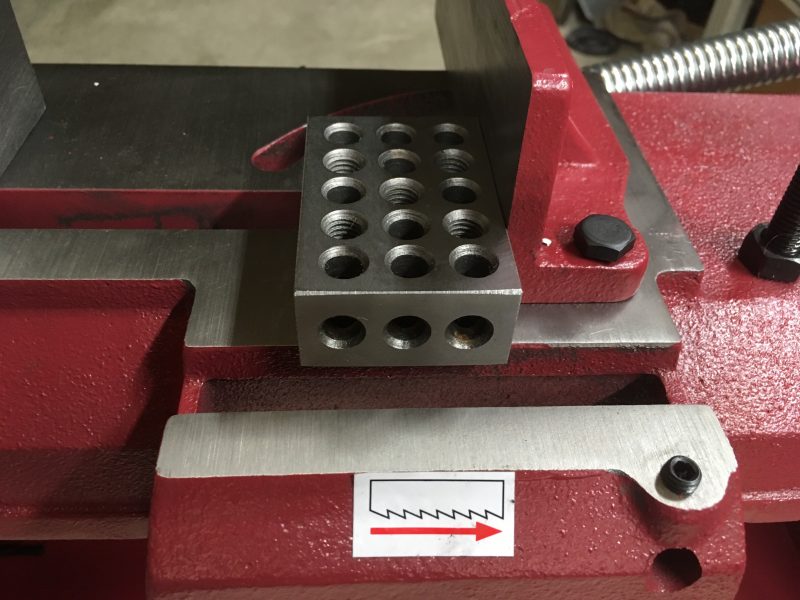
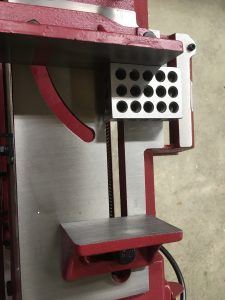
Adjustment of the blade is very simple. It does require a 90 degree reference such as a 1-2-3 block or machinists square.
I used a 1-2-3 block to adjust my saw. The operation only took about 5 minutes.
First, loosen the miter plate so that it can rotate smoothly.
Then set the 1-2-3 block flush against the miter plate.
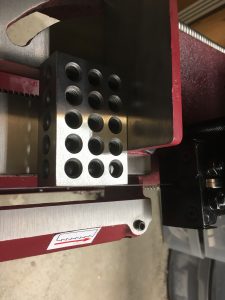
Next, carefully lower the blade to its resting position and press the 1-2-3 block against the blade until it is flush. Adjust the miter plate against the block until it is flush. This aligns the miter plate 90 degrees to the blade.
Check that the miter plate and blade are flush with the 1-2-3 block and tighten the miter plate bolts.
Remove the 1-2-3 block.
Run a test cut, ensuring that your blade speed is set correctly for the type of material you are cutting.
It is recommended that lubricant be used when cutting. Cutting fluid, oil or even WD-40 can be used.
Down Feed Tension
While my first cut was within .001″ from side to side, it was off by .010″ from top to bottom. Adjusting the down feed tension can help with this. Tighten the down feed spring on the back of the saw platform to reduce the amount of pressure pushing down on the blade during cutting.
If adjusting the down feed tension does not resolve the vertical alignment, your next step is to rotate the blade guide units on each side of the cutting area.
Repeat adjustments and test cuts until the unit is aligned vertically and horizontally.